Sunday, May 18, 2014
new display
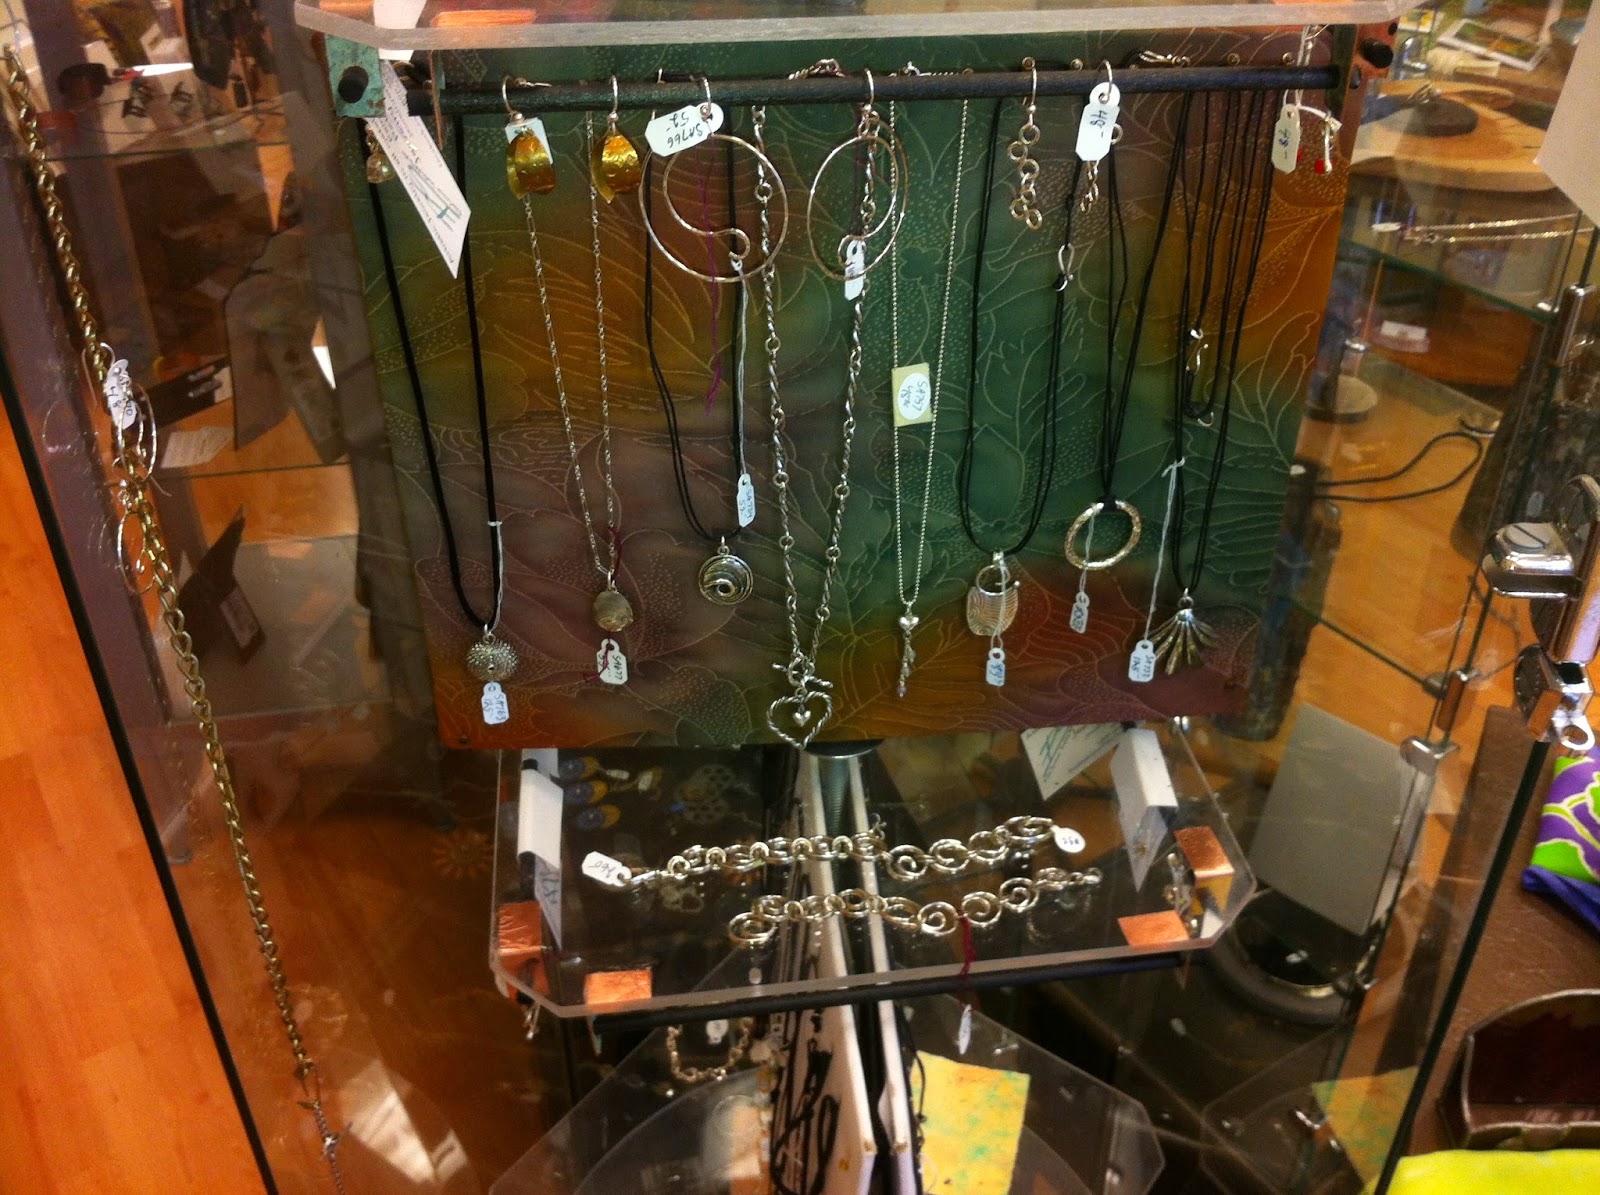
As it turns out I'm not totally happy with the new display. The bar for hanging earrings doesn't really function as hoped and I'm thinking of changing it again so I can include more earrings.

Saturday, March 22, 2014
New display

A new display is in the works for my jewelry at the artisans guild
gallery in Gainesville here are some pictures of the progress
First step was to cut some plexi to fit in the case that's there now

The current display is a black foam, rectangular block that I pin everything to. The block revolves inside the case. I'm replacing the block with shelves to, hopefully, let in more light. The birch dowel rods with black paint and copper brackets with patina are for holding the earring. the shelf is upside down in this shot
 test of concept. i think it will work




Saturday, February 15, 2014
If I had a hammer


Friday, December 27, 2013
Patina table
This is a shot of the patina table just before Christmas. Most of these parts are for earrings. They are copper and brass. The brass are the green. There is also one bronze Redfish buckle that I was trying the red patina on. It's perfect for that buckle.


This is a pair from that series. The parts are jointed so they move. Sterling and brass
Thursday, February 16, 2012
Lariat project
This project was designed for a customer. He came to me with the idea for a lariat with a rounded triangle at the top and a stone at the other end of the chain. We worked together ,back and forth, to come up with the final design. Some of my students want to try something like this so I'm showing the steps. If there are questions, leave them as comments or as email


For some reason the program wont let me write below the above picture. The picture shows how I hold the jump ring that attaches the top ring to the chain for soldering. The finished piece with a sardonix bead and set moonstone

The first steps in this piece are not shown. I used square cross section wire and used a file to make notches and bends where the corners are. Then I could solder the corners without having to line then up. Only one join needed lining up. I also soldered a 16 ga ring on the bottom of the bezel cup to allow for more soldering area . It gave me a place to put the edge of the frame. notice the chunk of pad holding up the frame while I solder it in possiton.
Holding it in a 3rd hand tool resting on the solder pad to steady the position. (white paper for photo only, obviously, you can't have paper on the solder bench)
I filed a small flat spot on top of the frame to give the top ring a place to attach. The ring itself is flattened on the bottom. Easy solder is pre flowed on the ring. Heat is appied to the frame and the ring brought in as the frame reaches temp.
For some reason the program wont let me write below the above picture. The picture shows how I hold the jump ring that attaches the top ring to the chain for soldering. The finished piece with a sardonix bead and set moonstone
Friday, November 11, 2011
Suburban Tribal
New line of forged and hammer textured earrings, bracelets and pendants made of aluminium. Today I took some time to further develop this idea of very large earrings that are supper light weight. Keeping it simple by leaving coarse hammer marks and texturing helps to keep the price down and adds the intended funky look. They are still labor intensive but the aluminium takes the high price of silver out of the equation. It also allows for the bold statement with out the weight. These earrings are 2 to 3 inches or more yet feel weightless to wear.


 They're fun to make too. You can really move some metal when the it doesn't put up much resistance but they are very strong and durable and colorful. I have added several to my display at the artisans' guild gallery.


Thursday, November 10, 2011
Scars and Stripes: The Saga Continues


Subscribe to:
Posts (Atom)